Skip to content
EliteHOMEDECOR
EliteHOMEDECOR
EliteHOMEDECOR
WhatsApp the team↗
EliteHOMEDECOR
Material ledger01—10
01HomeThe complete practice
02ProjectsInstalled work
03SystemsMaterial library
04Room VisualizerPreview in your room
05How We WorkSurvey to aftercare
06BrandsThe houses we represent
07Elite Mega EventsTemporary architecture
08JournalMaterial intelligence
09StudioThe company and standard
10Contact & VisitEnquire or visit the showroom
Jeddah · KSA@EliteHomeDecorSa
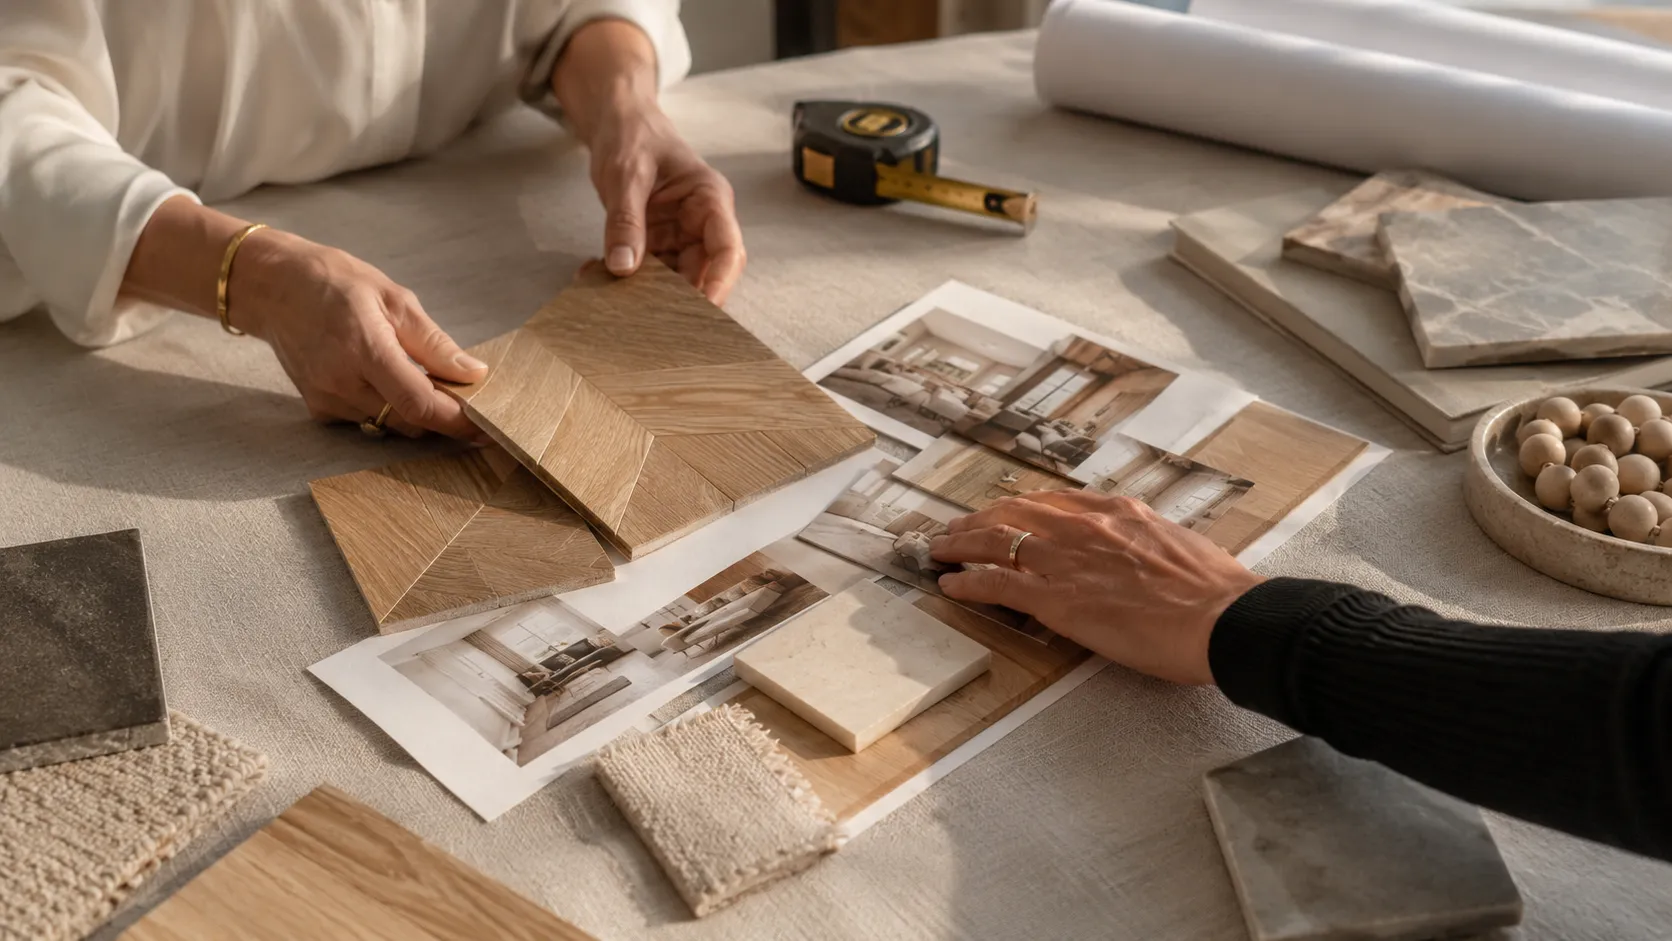
An Elite designer and client reviewing oak samples and a mood board
EliteHOMEDECOR

05 · Survey to aftercare

How We Work

Specify · Install · Maintain

05 / 10

The final installation

Premium floors,start to finish.

Book consultationRequest a consultation↗
info@elitehd.sa

Jeddah / Local time

--:-- AST

Residential, hospitality and commercial flooring across the Kingdom.

Explore

  • Projects
  • Systems
  • Room Visualizer
  • How We Work
  • Brands
  • Sustainability
  • Journal
  • Contact & Visit

Visit

Prince Saud Al Faisal St., Al Rawdah, Jeddah, KSAVisit showroom ↗

Contact

+966 55 650 0003info@elitehd.sa@EliteHomeDecorSa
© 2026 Elite Home Decor. All rights reserved.Jeddah · Kingdom of Saudi Arabia
How we work

01 —The Elite standard

The finish begins before the first board.

One accountable team specifies, supplies, installs and maintains every floor—so responsibility never changes hands.

Direction
Specification-led
Delivery
In-house teams
Continuity
Long-term care
An Elite designer and client reviewing oak samples and a mood board

Material, room and performance resolved before ordering

02 —A continuous handover

A clear route from brief to handover.

Five decisions, held by the same team. Each stage closes one risk before the next begins.

  1. 01

    Consult

    Brief, room and budget.

  2. 02

    Specify

    System, pattern and finish.

  3. 03

    Supply

    Source, deliver and acclimatise.

  4. 04

    Install

    Prepare, set out and fit.

  5. 05

    Maintain

    Care matched to the floor.
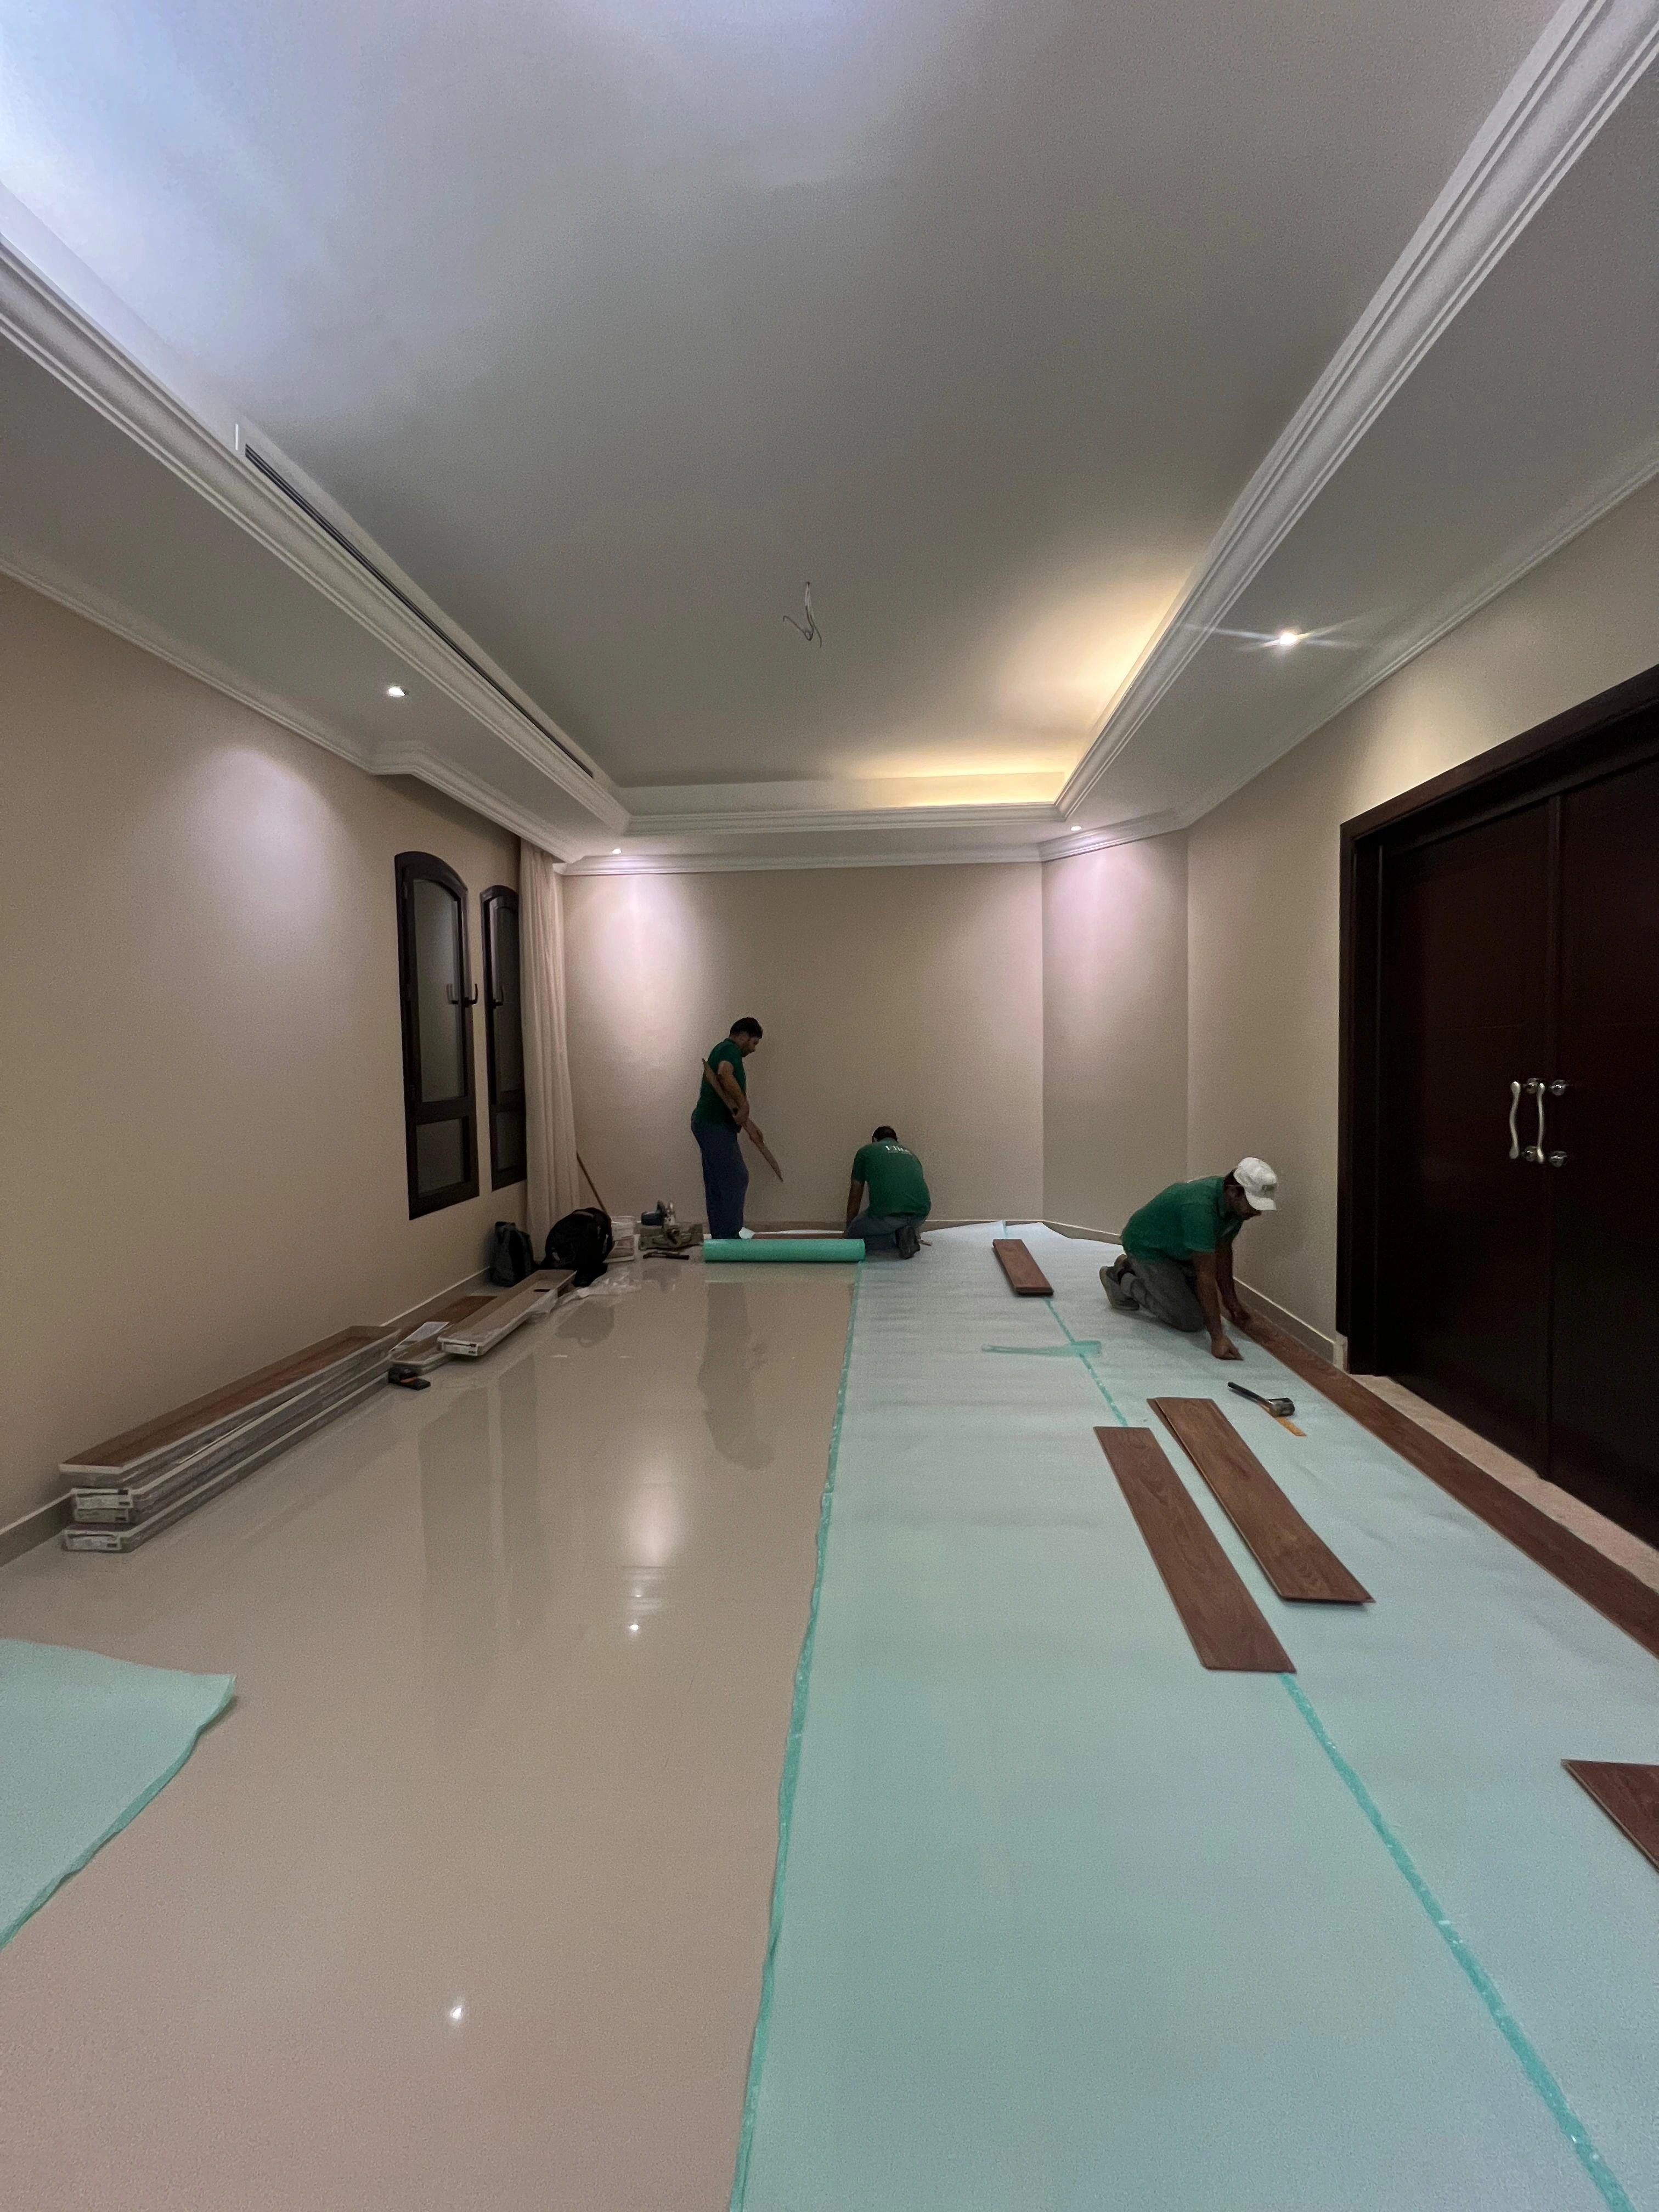
Elite's team protecting the stone floor before the oak installation

Stone protected before the first oak board is introduced
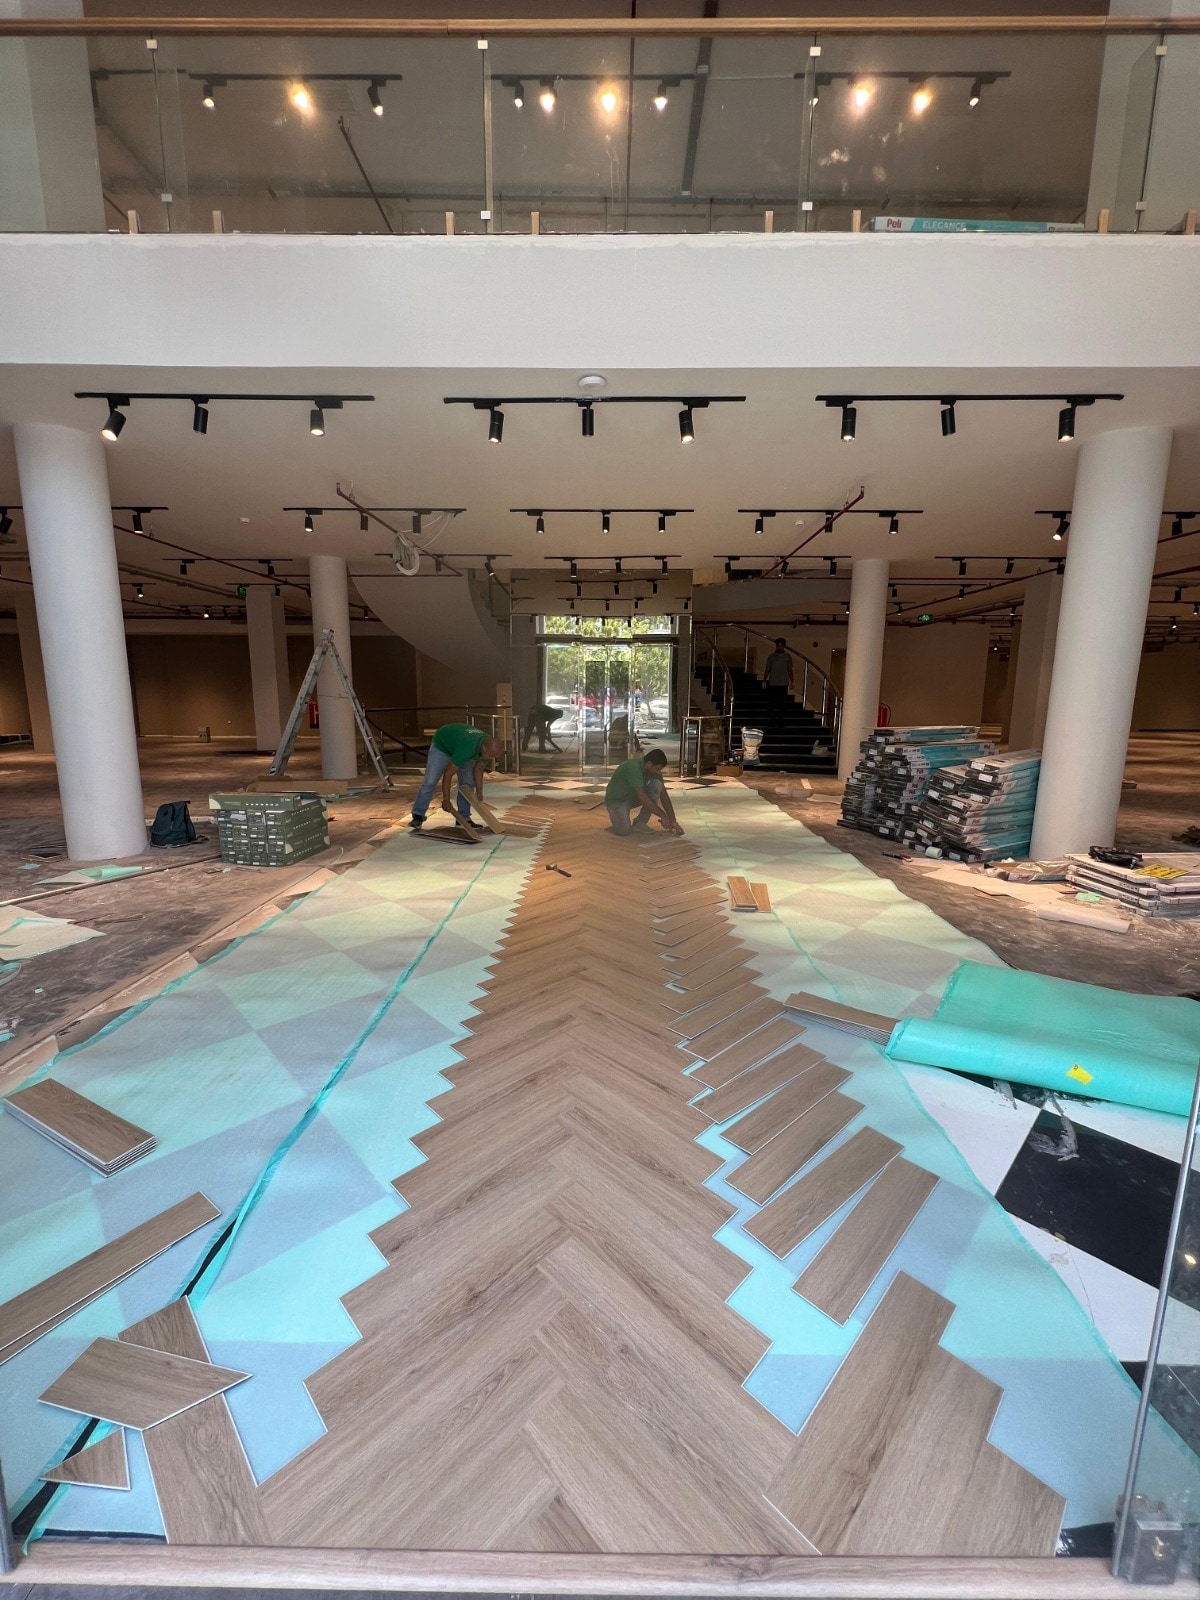
A herringbone centreline growing through a double-height commercial hall

03 —Installation discipline

Preparation first. Method second.

Every surface is tested and set out before its fixing method is chosen. These photographs record real stages of work.

  • P01

    CM moisture testing

  • P02

    Acclimatisation

  • P03

    DIN-standard subfloor preparation

  • P04

    Laser-guided setting-out

  1. M01

    Click-Lock Floating

    Glue-free for laminate, SPC and engineered wood.

  2. M02

    Glue-Down

    Fully bonded for stability and heavy traffic.

  3. M03

    Tongue & Groove

    Interlocking joints for solid and engineered timber.

04 —Maintenance & aftercare

Handover is not the end.

Care is matched to the material, traffic and finish.

  1. A01

    Routine & deep cleaning

    Scheduled to each floor's traffic and finish.

  2. A02

    Polishing, buffing & scratch removal

    Restoring surface and sheen.

  3. A03

    Sealing, resealing & refinishing

    Protecting the floor for the long term.
Discuss your floor↗
Explore materials →
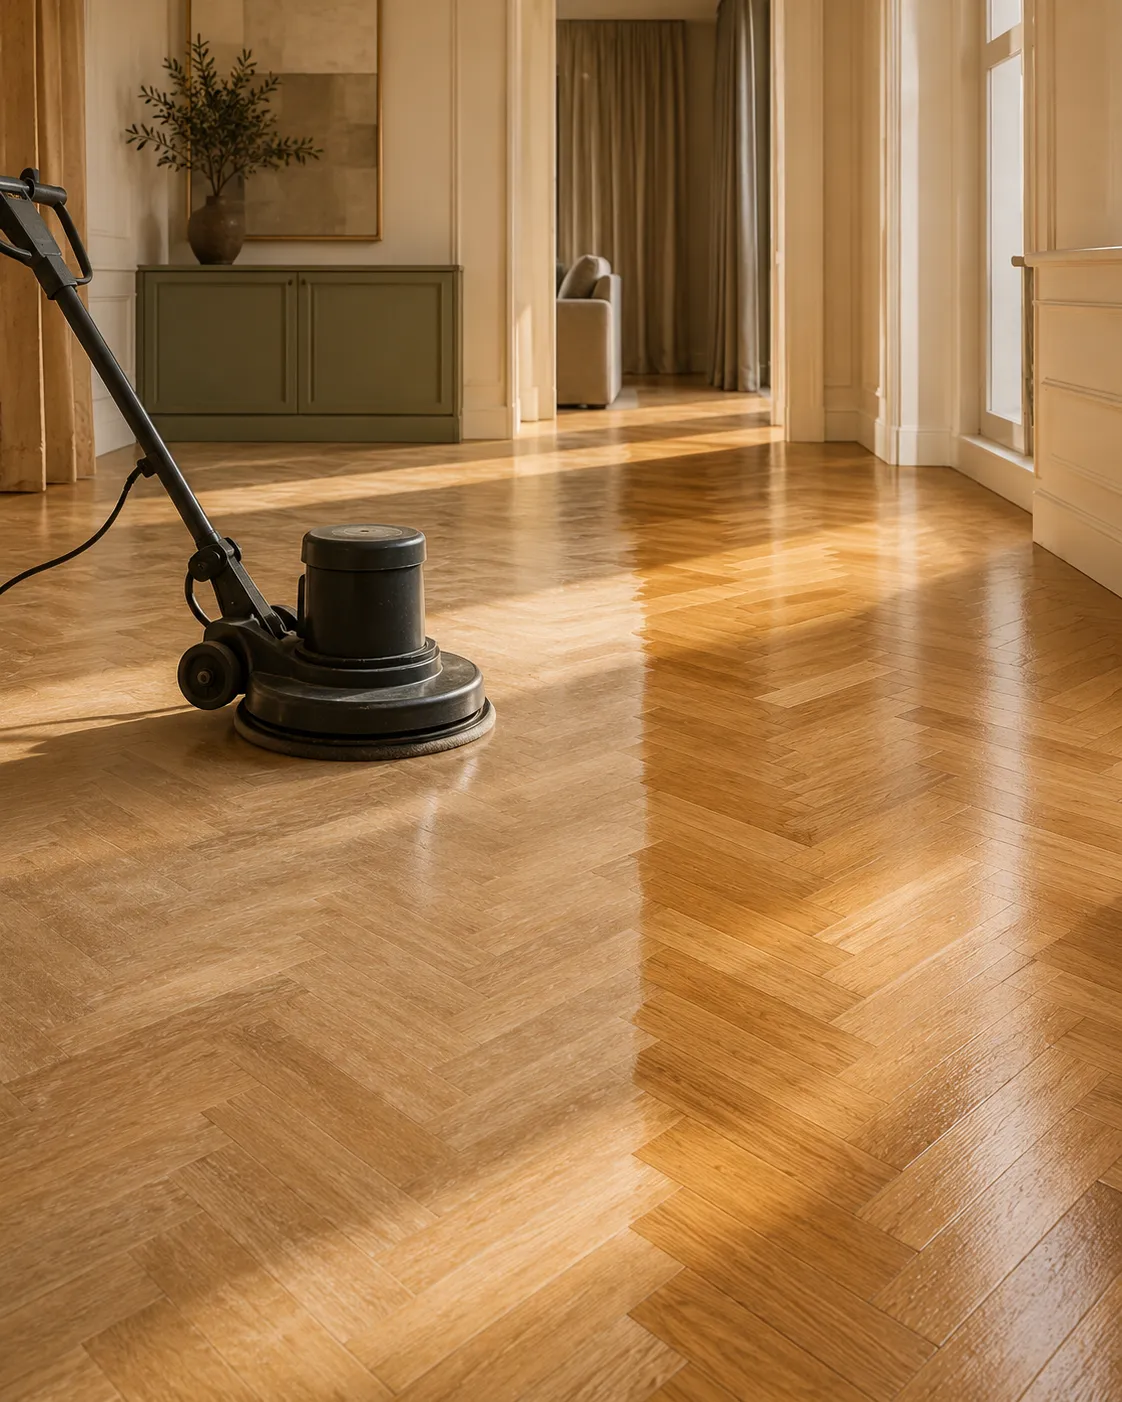
Restoring and finishing the surface of an oak floor

Surface renewal scheduled to the floor's traffic and finish